| Last additions - Panga25 |
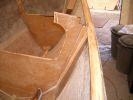
Frame B detail, shows the shim material and degree of flare. Notice Frame A fits fine.663 viewsPanga25Jan 15, 2007
|
|

Forward structure.640 viewsPanga25Jan 15, 2007
|
|

Detail of motor well side. Shows triangular cleats rather than just fillet along bottom edge of stringers and motor well. Biaxial tape over the triangular cleat485 viewsPanga25Jan 15, 2007
|
|

Stinger and interior frame detail, triangular cleats bonded along bottom. Tacked in place with 316 stainless steel brads.498 viewsPanga25Jan 15, 2007
|
|

Detail of motor well sides492 viewsPanga25Jan 15, 2007
|
|

Stingers, interior frames and motor well sides installed580 viewsPanga25Jan 15, 2007
|
|
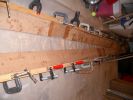
Full length (almost) cleats bonded to stringers before stringer install510 viewsPanga25Jan 15, 2007
|
|
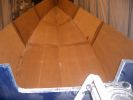
Here's the next step, glassing the inside of the hull.852 viewsPanga25Sep 11, 2006
|
|
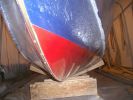
I've installed a solid brass half-oval along the centerline. I'll do the same along the sheer once I get there.754 viewsPanga25Sep 11, 2006
|
|
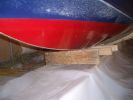
Bottom buffed and clean, I haven't bothered with the topsides yet (that's compound from the bottom splattered all over the place). I'll do that closer to the final launch date.660 viewsPanga25Sep 11, 2006
|
|
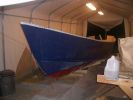
Sitting upright at last.819 viewsPanga25Sep 11, 2006
|
|

Flipping the boat. I did this single-handed. I used about 6 cargo straps to slowly lift the boat off the molds. Once up, I removed all the molds and bracing. I reinforced the gunnel and nailed lightweight crossbeams to hold the shape during the roll.755 viewsPanga25Sep 11, 2006
|
|
| 44 files on 4 page(s) |
1 |
 |
|